Published October 28, 2023 | Last updated July 27, 2026
Thanks for your support! If you make a purchase using one of our links, we may earn a commission at no additional cost to you.
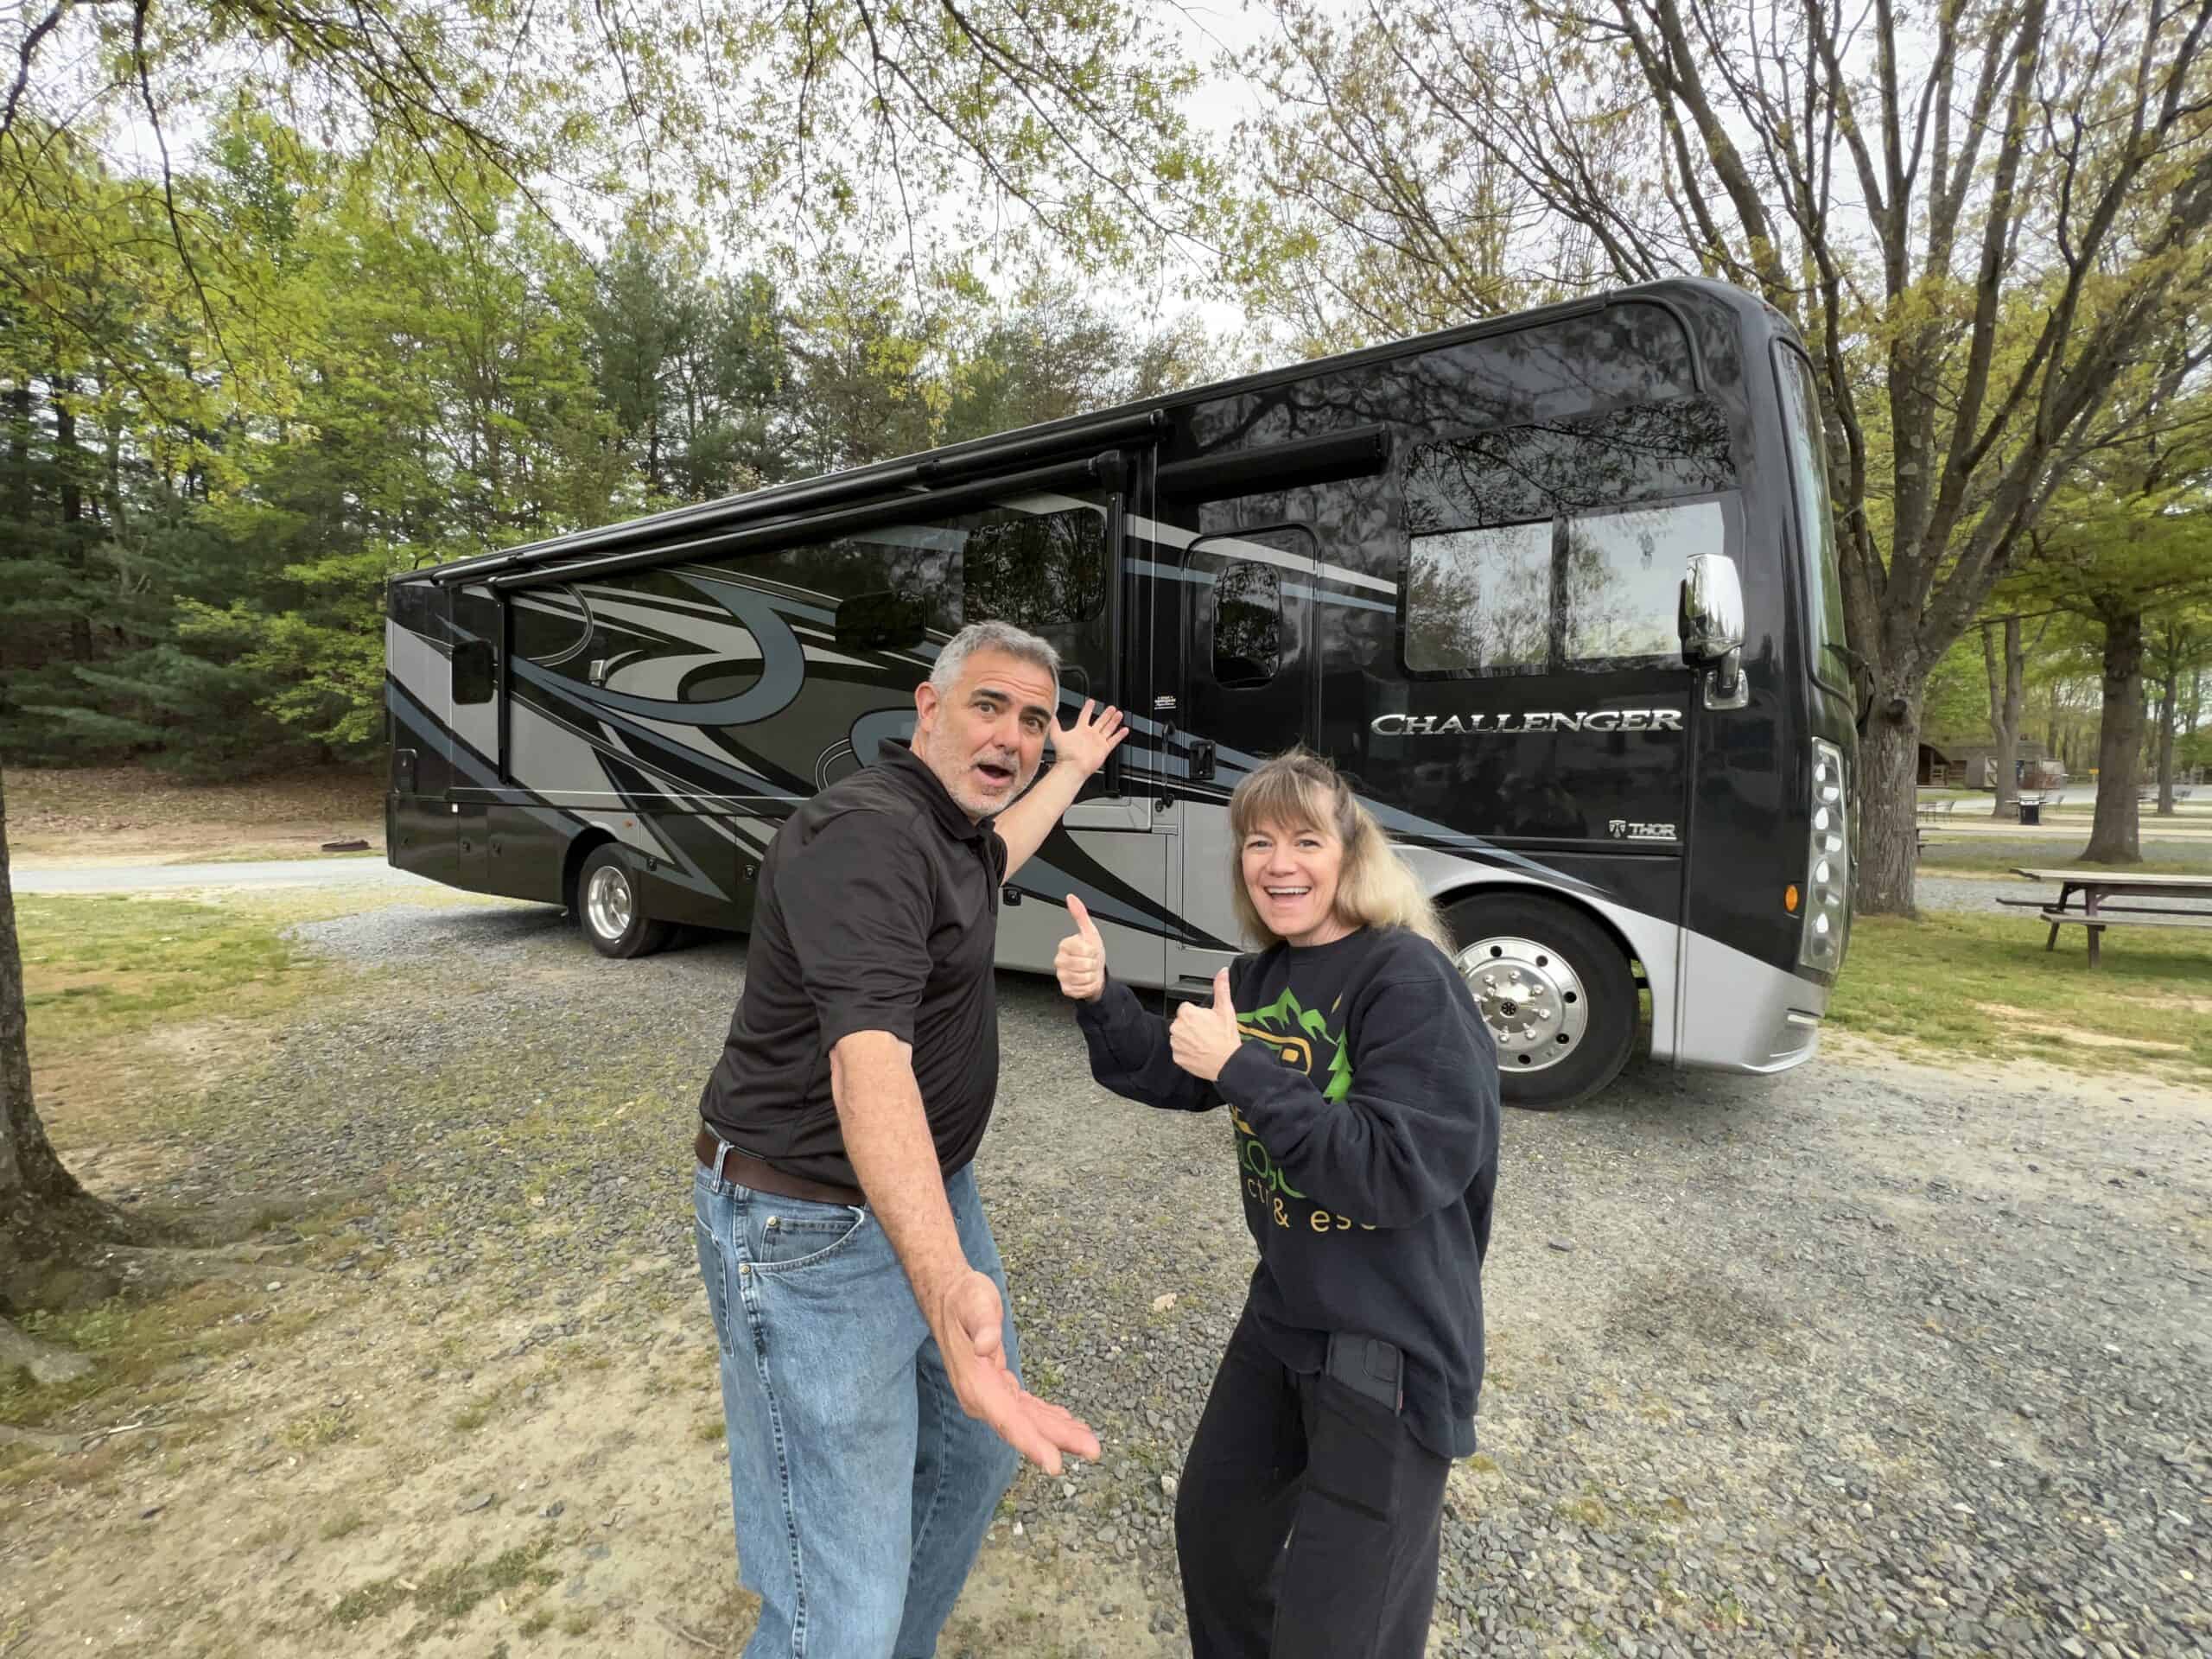
When Susan and I pull into a campsite, I want our Class A motorhome level, stable, and properly supported. Our Lippert hydraulic auto-leveling system makes that much easier, but I do not believe in pressing the button and walking away.
In most situations, your RV tires should remain on the ground when you auto-level. Lippert advises RV owners to reposition the RV and use leveling blocks rather than leave tires suspended. This is especially important for the rear wheels on many motorhomes because the parking brake typically holds through the rear axle.
A leveling system may be physically capable of lifting a wheel, but that does not automatically make it the best way to leave the coach for several days. When a site is unlevel, I would rather support the low-side tires with properly rated blocks and let the hydraulic jacks finish the leveling job.
We learned another important lesson the hard way when one of our jacks landed partly on a concrete parking curb at a state park. The jack started to bend, Susan caught it quickly, and I stopped the system before the damage became much worse. That experience changed the way we watch every jack as it comes down.
In this article, I will explain when a lifted tire is a warning sign, how we level our motorhome, why blocks and jack pads perform different jobs, and what to check when an automatic system does not seem right.
Should RV Tires Be Off the Ground When Auto-Leveling?
Generally, no. Keep all of the tires supported whenever practical, and never allow the rear drive or parking-brake wheels to hang in the air unless your motorhome and leveling-system manufacturers specifically permit it.
Lippert’s own leveling guidance says that when wheels lift off the ground, the RV should be repositioned and additional leveling blocks should be used to avoid suspending the tires. Lippert notes that leaving the tires suspended can strain the suspension. You can read its beginner’s guide to RV leveling here.
The details can vary by chassis and leveling system, so your owner’s manuals always take priority. Some manufacturers may permit limited front-wheel lift under specific conditions. I would not assume that applies to your coach, and I would not treat it as normal campsite setup.
The rear wheels deserve extra attention. On many motorhomes, the parking brake acts through the rear axle. If the hydraulic jacks raise those tires off the ground, the coach may lose the primary tire-to-ground contact that helps keep it from moving. Wheel chocks cannot help much when the wheels they are meant to secure are hanging in the air.
What We Do With Our Class A Motorhome
Our coach has LiquidSpring suspension along with a Lippert hydraulic auto-leveling system. On our specific setup, I lower the LiquidSpring suspension fully and turn it off before operating the Lippert levelers. LiquidSpring systems and coach installations can differ, so follow the instructions for your exact suspension, chassis, and leveling system rather than copying our sequence blindly.
Before I start leveling, Susan goes outside with her phone or a walkie-talkie while I operate the controls. She watches the clearance around every jack, checks for curbs, rocks, holes, soft ground, utility covers, and anything else I cannot see from the driver’s seat.
Our Basic Leveling Sequence
First, I inspect the site. I look at the slope, the firmness of the ground, overhead clearance, slide-out clearance, and where each jack will land. If the site is badly sloped, I reposition the motorhome before doing anything else.
Second, I support the low-side tires when necessary. If auto-leveling is likely to lift a tire, I drive onto heavy-duty leveling blocks that are rated for the coach and wide enough to support the full tread. I do not want a tire hanging partly off a narrow block.
Third, Susan watches the jacks. She tells me immediately if a jack is approaching a curb, sinking into soft ground, landing at an angle, or contacting anything it should not.
Fourth, I run the auto-level cycle. I stay at the controls and remain ready to stop the process. Pressing any control button during many automatic cycles will abort the sequence, but confirm the correct stop procedure for your system.
Finally, I check the result. I keep a four-foot level in the motorhome and use it when something feels wrong. I also look at jack extension, tire contact, and whether the coach feels stable before extending the slides.
How We Bent a Leveling Jack at a State Park
At one state park, the back of the campsite had a concrete parking curb. One of our hydraulic jacks came down so that only part of the jack foot landed on the curb. Because the contact was uneven, the jack began taking force at the wrong angle and bent slightly.
Thankfully, Susan was outside watching while I lowered the jacks. She yelled to stop, and I shut the system down before we caused major damage. Had we both stayed inside and trusted the automatic cycle, that repair could have been much worse.
We filed the repair through our coverage from Wholesale Warranties. The coverage saved us thousands of dollars on the repair. That does not mean every bent jack or leveling problem will be covered; coverage depends on the contract, cause of failure, exclusions, and documentation. But in our case, the warranty was extremely valuable.
The bigger lesson was not about the warranty. It was that automatic leveling still requires human supervision. A sensor can tell whether the coach is level. It cannot always see that a jack foot is half on a curb.
Leveling Blocks and Jack Pads Do Different Jobs
This distinction matters because RVers sometimes use the terms interchangeably.
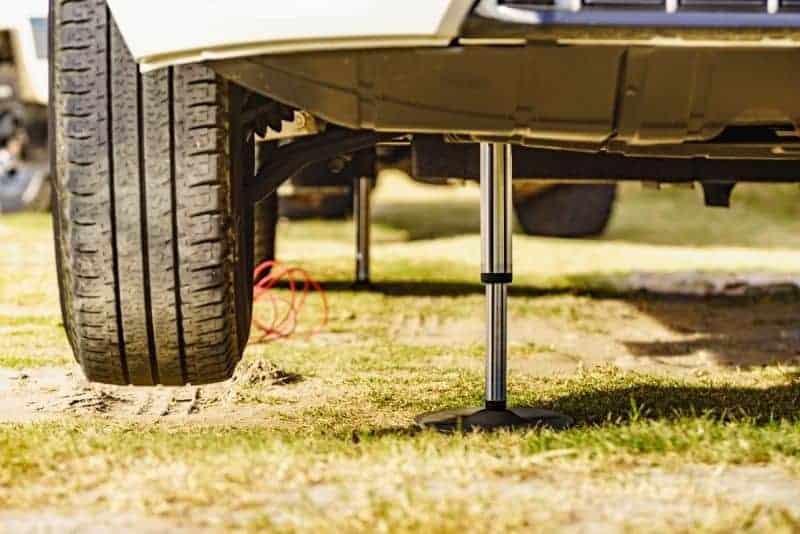
Leveling blocks under the tires raise the low side of the RV. They reduce how far the hydraulic jacks must extend and help keep the tires supported. Use blocks that are rated for the weight of your motorhome, place them on firm ground, and support the full tire tread. With dual rear wheels, follow the block manufacturer’s instructions and support the tires correctly rather than loading only one tire.
Jack pads go under or attach to the leveling feet. They increase the footprint, protect pavement, and help reduce sinking into softer ground. They do not replace tire blocks when the low side of the motorhome needs to be raised.
We use RV SnapPads on our motorhome. They remain attached to the jack feet, provide a larger contact area, and save us from placing loose pads under the coach every time we set up. Use discount code RVBlogger10 for 10% off. Before ordering, measure your jack feet and use SnapPad’s fitment tool because Lippert and other leveling systems use several foot shapes and sizes.
SnapPads are helpful, but they would not have prevented our curb incident by themselves. The jack still needs a flat, fully supported landing area. A permanent pad cannot correct a jack that is coming down partly on a raised obstruction.
Why an Auto-Leveling System May Lift a Tire
The Campsite Is Too Far Out of Level
This is the most common reason. The system extends the low-side jacks until the coach reaches level, and eventually a tire begins to unload or leave the ground. Stop, retract the jacks, reposition the RV, or place properly rated blocks under the low-side tires.
The Level Zero Point Is Incorrect
Automatic systems use a stored reference that tells the controller what “level” means. If that zero point is wrong, the system may overcorrect or leave the coach visibly tilted. Lippert publishes system-specific zero-point procedures, but the buttons and sequence vary. Identify your exact controller before attempting recalibration.
A Jack Is Sinking
Soft soil, hot asphalt, gravel, or ground softened by rain may allow one jack to sink. The system may continue extending other jacks while the sinking corner never reaches the expected height. Wider jack pads can spread the load, but severely soft ground may require repositioning or larger rated support pads.
A Jack, Sensor, or Hydraulic Component Has a Problem
Uneven extension, a drifting corner, warning codes, hydraulic leakage, unusual noises, or a jack that does not retract correctly may indicate a mechanical or electrical problem. Do not continue cycling the system and hoping it fixes itself. Check the manual and have the system inspected when necessary.
Front Tires Versus Rear Tires
RVers sometimes ask whether lifting the front tires is less serious than lifting the rear tires. The answer is that the rear tires are usually the greater concern on a motorhome because they often provide the parking-brake connection to the ground.
That does not make routine front-wheel suspension a good goal. A wheel hanging in the air means the suspension is at or near full droop, the jack is carrying more of the coach, and the setup may be more affected by movement or changing ground conditions. I prefer blocks under the front tires when the site requires that much lift.
A small amount of visible tire unloading is not the same as leaving a wheel several inches in the air. But once I see daylight under a tire, I consider that a signal to stop and improve the setup rather than accept it.
5 Important Safety Rules for Hydraulic Leveling Jacks
1. Never crawl under an RV supported only by leveling jacks. Leveling systems are not a substitute for properly rated service stands and approved lifting procedures. Hydraulic or mechanical failure can occur without warning.
2. Do not stack unstable materials under the jacks. Avoid loose bricks, uneven stones, cracked lumber, or tall stacks that can shift. Use products designed and rated for RV leveling loads.
3. Keep people clear while the system moves. Children, pets, and bystanders should stay away from the jacks, tires, and slides during setup.
4. Inspect before retracting. Check for mud, ice, stones, or damage around the jack feet. Confirm that all jacks fully retract before driving.
5. Do not use the leveling system to change a tire unless the manufacturer explicitly approves that procedure. Many leveling systems are not intended to serve as a vehicle lift for maintenance.
Do RVs Need to Be Perfectly Level?
Your RV does not need to resemble a laboratory instrument, but it should be comfortably and safely level. Doors should not swing on their own, water should drain correctly, and the slides should operate within the coach manufacturer’s requirements.
Older absorption refrigerators are one reason leveling advice became so important. When operating on propane, those refrigerators rely on gravity and heat circulation and can be damaged if run too far out of level. Many modern compressor refrigerators are less sensitive, but the rest of the coach still benefits from a stable, reasonably level setup.
I focus on three results: the tires remain properly supported, the jacks have solid footing without extreme extension, and the coach is level enough for its appliances, slides, plumbing, and occupants.
Can You Add Auto-Leveling Jacks to an RV?
Many motorhomes, fifth wheels, and some travel trailers can be fitted with an aftermarket leveling system, but compatibility depends on the chassis, frame, available mounting locations, weight ratings, and the system manufacturer’s application guide.
This is not an upgrade I would choose by price alone. A properly engineered and installed system handles a large portion of the RV’s weight. For a deeper explanation, read our guide: Can You Add Auto-Leveling Jacks to an RV or Trailer?
Watch How We Set Up Our Motorhome
In the video below, Susan and I show the broader campsite setup process we use, including positioning and leveling the RV before connecting the utilities.
6 FAQs About RV Tires and Auto-Leveling
1. Can hydraulic leveling jacks lift an RV’s tires off the ground?
Yes, many hydraulic systems are powerful enough to lift a tire. The better question is whether your manufacturer allows it and whether the coach remains safely supported. Lippert advises repositioning and using blocks when wheels lift.
2. Should I put blocks under the tires or under the jacks?
Use leveling blocks under the low-side tires when you need to raise that side of the RV. Use jack pads under the feet to spread the load and protect the ground. Depending on the site, you may need both.
3. Should I put blocks under dual rear tires?
Follow the block manufacturer’s instructions and support the dual-wheel assembly correctly. Do not casually place a narrow block under only part of a tire or create uneven loading between duals. When in doubt, use a product designed for heavy motorhomes and ask the chassis or tire manufacturer for guidance.
4. Why does my RV feel unsteady after auto-leveling?
Possible causes include excessive jack extension, a jack sinking into soft ground, a tire suspended above the ground, an incorrect zero point, or a mechanical problem. Retract and reassess rather than extending the jacks farther.
5. Can I extend my slides before leveling?
Follow the RV manufacturer’s sequence. Some manufacturers instruct owners to level first, while certain coaches have different procedures. The slide manufacturer’s general advice does not override the instructions for the completed motorhome.
6. How often should I inspect my leveling system?
Look at the jack shafts, feet, hoses, wiring, mounting points, and hydraulic fluid requirements as part of regular RV maintenance. Inspect immediately after a jack strikes an obstruction, lands unevenly, leaks, bends, or begins operating differently.
Final Thoughts
Our Lippert hydraulic auto-leveling system is one of my favorite conveniences on our Class A motorhome. It saves time and makes setup easier, but I still treat it like a powerful piece of equipment rather than a magic button.
My rule is simple: keep the tires on the ground whenever practical, especially the rear wheels; use properly rated blocks when the site is too far out of level; and have someone watch the jacks as they come down.
The day we bent a jack on a parking curb proved why that last step matters. Susan saw the problem before the system could. Our warranty helped pay for the repair, but careful setup is always better than a claim.
Auto-leveling should make camping easier. A few extra minutes spent inspecting the site, supporting the tires, and watching the jacks can prevent a much longer and more expensive problem.
Related Reading:
– Can You Add Auto-Leveling Jacks to an RV or Trailer?
– Do Motorhomes Have Spare Tires?
– How Often Do Motorhomes Break Down?
– Are RV Slide Toppers Really Necessary?
About the Author:

Hi, I’m Mike Scarpignato, co-founder of TravelTrailerPro.com, RVBlogger.com, and MotorhomeFAQs.com and the RVBlogger YouTube Channel.
My wife, Susan, and I have been creating RV content since 2018. We travel the country visiting RV shows, touring dealerships, reviewing campers, testing gear, and spending plenty of time camping in our motorhome. Most of what we share comes from actually using RVs, making mistakes, fixing problems, and learning what works in the real world.
Susan is usually behind the camera on our RVBlogger YouTube channel, which has more than 215,000 subscribers. We also run RV Camping for Newbies, a private Facebook group with more than 275,000 members, and publish four weekly RV newsletters reaching more than 85,000 subscribers.
Our goal is simple: help beginners and experienced RVers choose the right RV, avoid expensive mistakes, and enjoy the RV lifestyle with a little less frustration.